Changing Strings Pinless Bridge
CHANGING STRINGS ON A PINLESS BRIDGE
This is a bridge design which I have been using more and more of. I see a few of the other makers using it as well. This design hides the string knot so it looks good and you’ll never get poked in the wrist by the knot. The knot bears on the backside of the soundboard, I use a hardwood bridge patch so the knot won’t wear away at the soundboard and also use a very small hole in the bridge, just a couple thousands of an inch bigger than the strings.
ILLUSTRATED VERSION
PHOTOGRAPHED VERSION
Step 1 - Cut Off Old Strings

It’s very easy to change the strings on your instrument with this bridge design. To begin with, cut the old string about a foot away from the bridge.

Then push the string down the hole.
Step 2 - Removing Old String

With luck it will come out the soundhole, if not using a small thin bent wire tool snag the string and coax it to the sound hole.

Pull it out.
NOTE: If your instrument is equipped with an electric pick-up make sure that you’re not pulling on the wire of the pick-up element. A small inspection mirror can help guide you.
Step 3 - Stringing
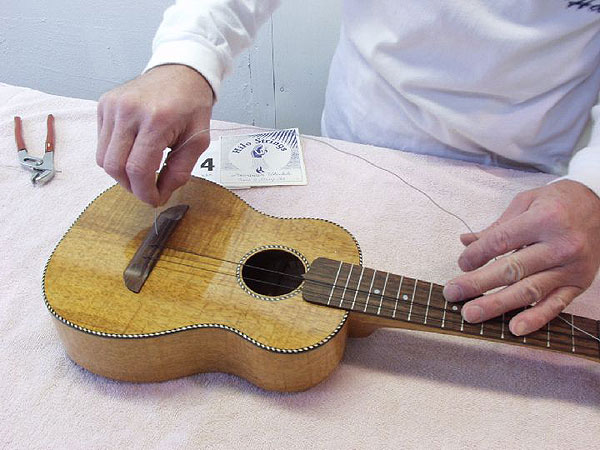
Feed the new string into the bridge hole.
Because the string has been curled up in its packaging it should curl right up and out of the soundhole
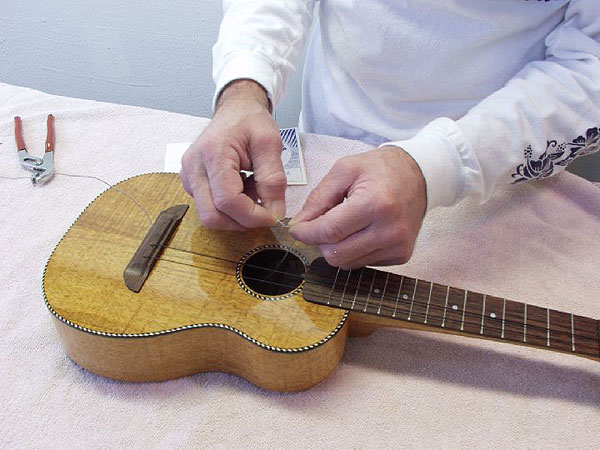
Step 4 - Knotting

Tie a knot in the end of the string (see knots) trim about ¼” away from the knot.
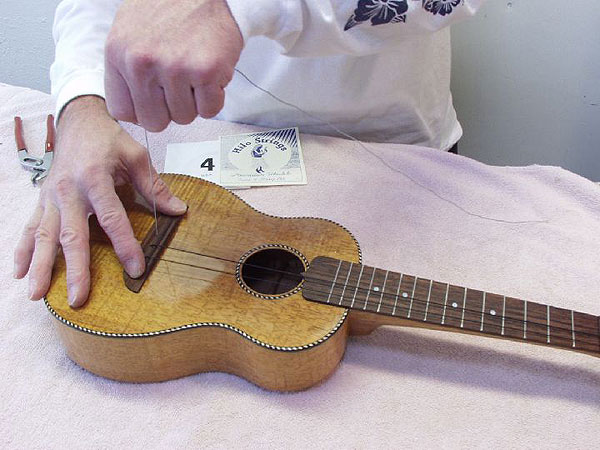
Pull the string back up out of the bridge hole and give it a little tug to set the knot.